
Watermark Sense
Flexible and creative batch image watermarking

Watermark Sense User Guide
Download the Watermark Sense User Guide in PDF.
Note that this User Guide might be updated compared to the one delivered with the application. Thus, if you are using the latest application version, we recommend downloading the latest User Guide from this site.
Quick Start Guide
01. Run Watermark Sense
02. Add some images
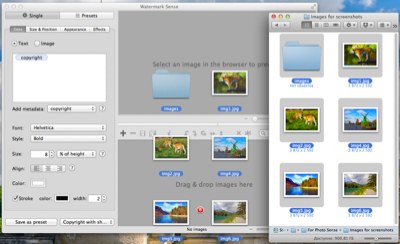
Either drag & drop image files and/or directories to the browser area (as shown on the picture), or use the Add Images toolbar button
(![]() ).
).
03. Configure the watermark
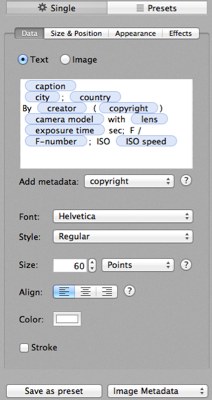
Watermark configuration is defined in the configuration area (the left area of the application window). Choose between the Single and Presets operation mode. In the former, a single watermark configuration is applied to all saved images. In the latter, all the selected watermark presets are applied to every saved image. Create some new presets if necessary. See the default presets for some examples.
04. Preview the results
Adjust the watermark position manually if necessary.
06. Save the results
Save all
(![]() )
or selected
(
)
or selected
(![]() )
images. If multiple watermark presets are applied (not combined), make sure to generate unique file names.
)
images. If multiple watermark presets are applied (not combined), make sure to generate unique file names.
See the User Guide for more information.